Vintage and Retro Sunglasses

Vintage dressing always looks best finished with accessories. Generally, I plan jewellery with my clothes, but with sunny weather here, sunglasses are picked up as I rush out the door. I try to make it simple by having a few pairs (not too many!) that cover the decades I like.

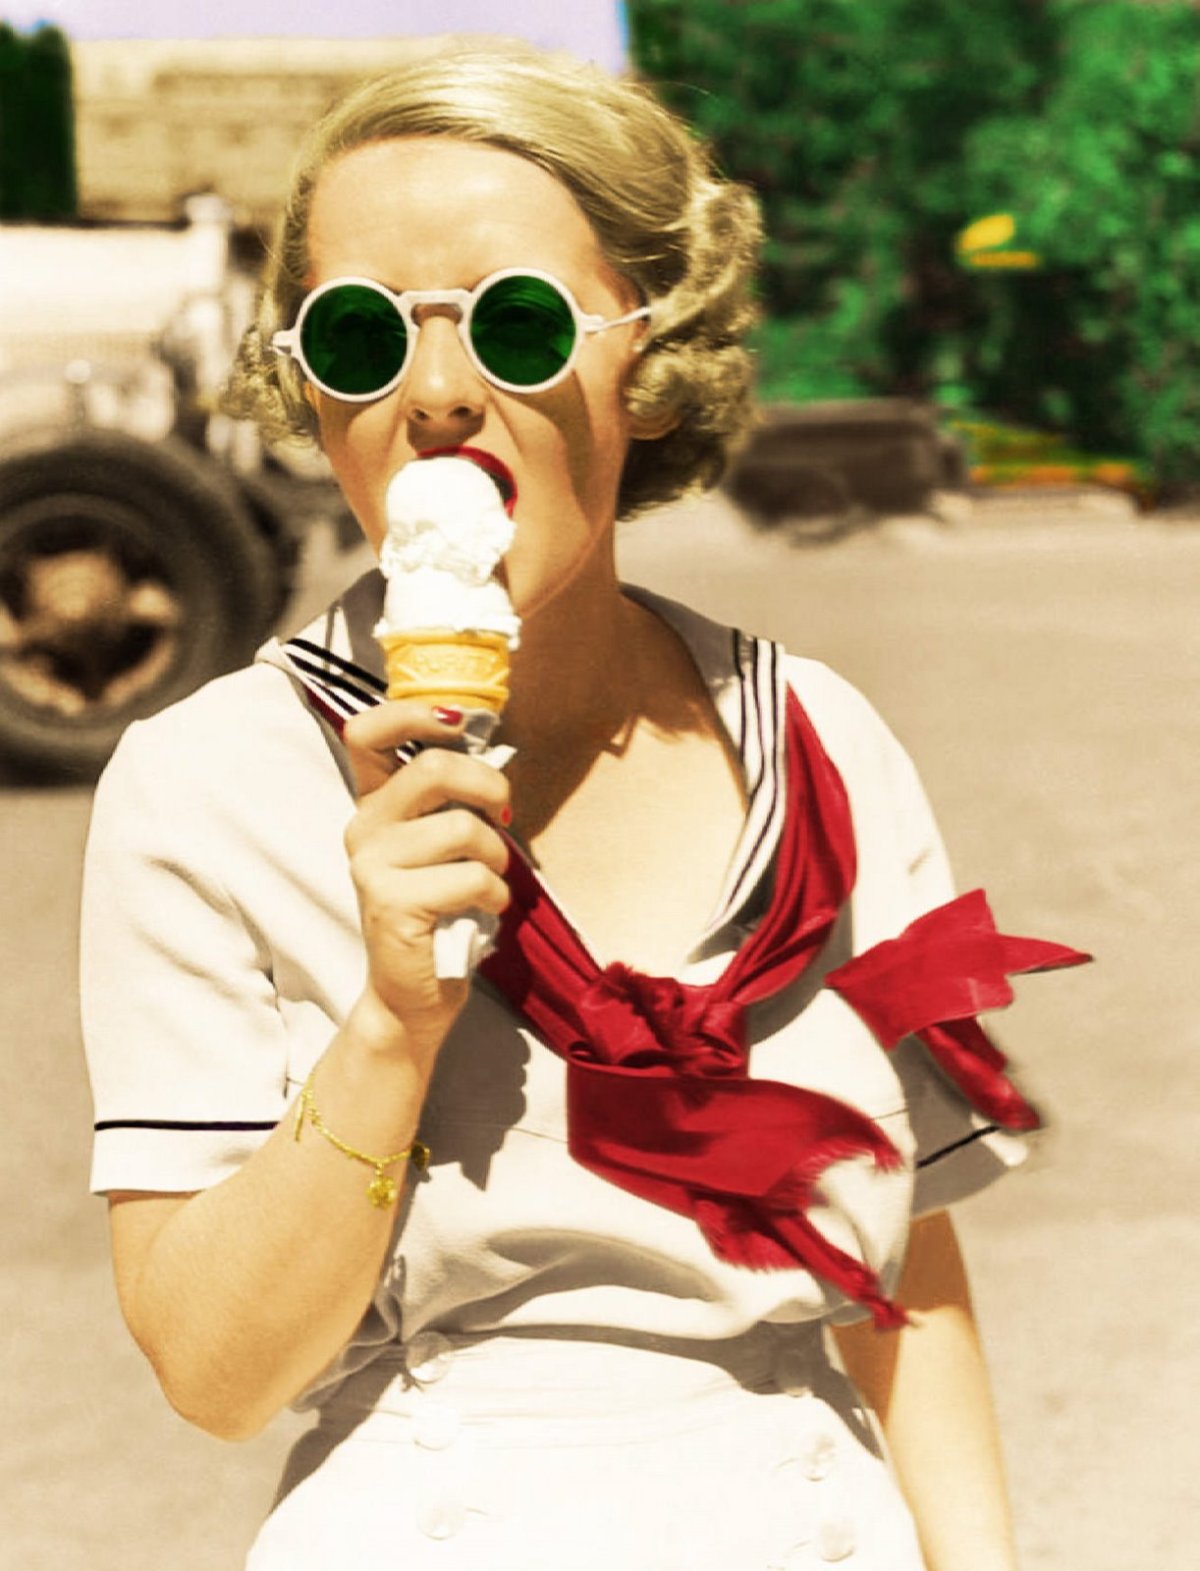
For the Twenties, Thirties and Forties small round glasses were popular. There are some fun frame designs from the Forties, like petals around the eyes to create flowers! Watch Agatha Christie’s Evil Under the Sun (film or ITV) for some great Thirties summer outfits and sunglasses. I love the colourised photo of a young blonde Bette Davis with an icecream.

Bette Davis sunglasses
Round Thirties sunglasses

Cat eye glasses epitomised the Fifties, from bookish to pin-up. Marilyn Monroe wore a thinner black design that won’t flatter everyone, but I like the wider frames that go to the edge of the face, and up to the eyebrow. Classic black or tortoiseshell goes with everything, but there is plenty of scope for fun. Coloured frames to match lipstick, dresses or accessories were popular, as were diamante details and shapes on the upper edge. Ray-Ban wayfarers were worn by Marilyn too, and these are a classic style that’s still popular.

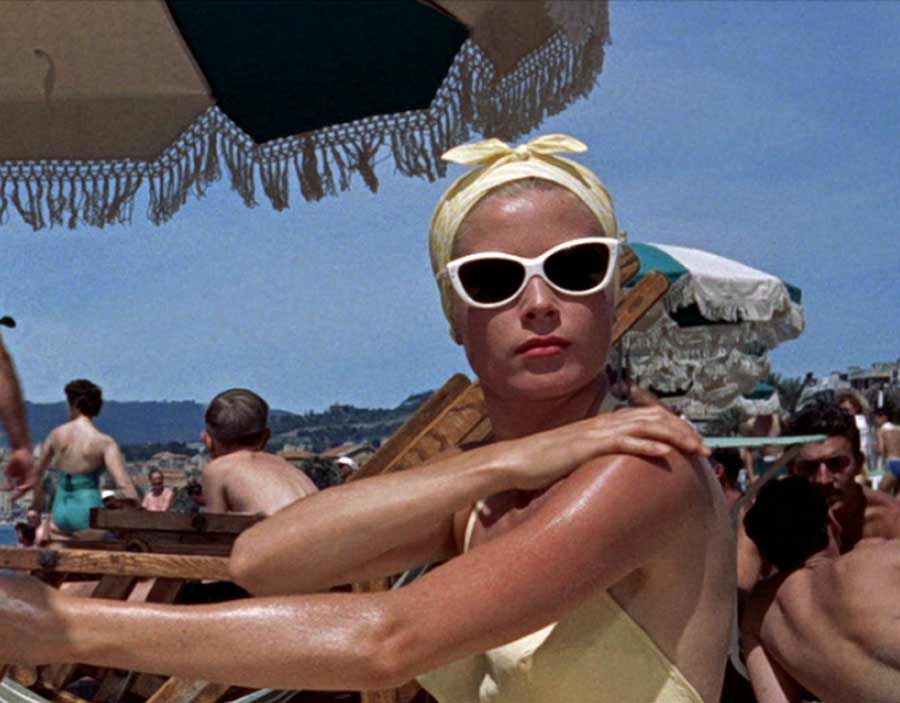
Going into the Sixties, sunglasses got bigger and any shape and design imaginable show up. Generally, bug-eye and soft edged square shapes were popular. Grace Kelly had a huge selection of sunglasses, and that might be a good place to start if you want to have a reference to shapes and styles before you shop round.

Grace-kelly-Sunglasses-To-catch-a-thief

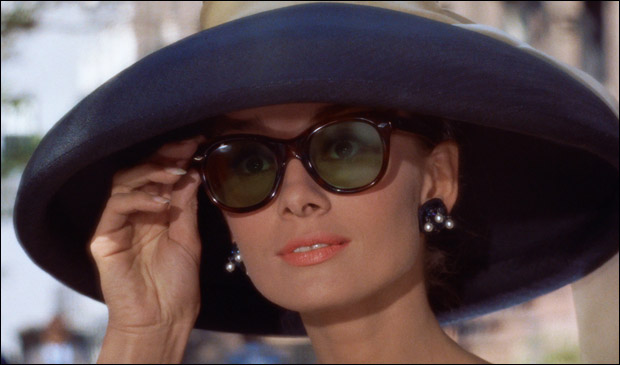
My dream pair of sunglasses are the pair Audrey Hepburn wears as Holly Golighty in the film Breakfast at Tiffany’s. They have a tortoiseshell framework greenish lenses. These were designed by Oliver Goldsmith. It’s worth checking out some of his other designs too. There are lots of similar designs out there, but if you want the real thing, Oliver Goldsmith reissued a line!

Breakfast at Tiffany's - Oliver Goldsmith sunglasses

This style covers the Seventies owl eyes and modern styles currently popular.

They are well worth it, they met all my expectations. Now I’m scared of scratching them, so I am learning to be glasses conscious, not wearing them on top of my head and always putting them in a hard case when I’m not wearing them.

Here’s my line-up of necessary styles to have a pair for any outfit from the Twenties to the Sixties.

This slideshow requires JavaScript.

All these eras are covered by modern styles available to buy on the high street. Now you know what to look for, I hope you find a style you like.

Modern earrings into vintage

Drop earrings are seen in old photos, and you can still find them. I like wearing this style with Victorian and Edwardian styles. The Sherlock Holmes series and other period dramas are a good reference.

The Forties, Fifties and Sixties saw the rise and continued popularity of large earrings. This was revisited in the Eighties, which are seeing a revival for SS17.

Heavy earrings with hooks can leave unsightly stretched earlobes  visible. By modifying earrings to hide hooks, to look like clip-ons, will give a modern pair a vintage look.

You will need:

  • Earrings
  • Tweezers
  • Small/ fine ended pliers
  • Needle and matching thread or superglue & felt
  • Scissors

img_20170222_180313

1) If you cannot twist the hook around to sit it behind the earring design, follow this step. Alternatively, skip to step 5.

Remove the hook and link. These didn’t have links, so I just had to pry open the fastened end of the hook. You can use old tweezers, small pliers or if it’s soft metal, even your nails (beware chipping nail varnish!)

Loosen the spiral of wire, to push it up the hook, as if you’re going to slide it off. This reveals the fastened end.

2) Stick your nail in the gap where the wire is pressed together. The gap you create should be big enough to slide the hook off the earring. (I also removed the tassle in the same way.)

img_20170222_180419
Join hook lower on the earring

3) If the earring has something on the back you can loop the hook around, be sure you can lay the hook against the back ready to afix.

4) Close the loop end with the pliers. Push the spiral back over the join.

img_20170222_180602
Afix the hook to the back of the earring

5) Check the hook won’t show from the front. Using a needle and thread, sew the hook from top to bottom, to hold it in place.

If there is nothing to stitch through, but you have a solid surface on the back, flatten the lower part of the hook against the back and glue.

Cut a small square or circle of felt to glue over the glued part of the hook. You may need to use something to hold the hook up while the glue dries, like blue tack.

Jpeg
Modified hook backed earrings

Is this useful? Are there other types of earrings you want to modify?